The countdown is on for The British Shooting Show – book tickets online today and save on gate price!
Long range with 260 RIPS: a deeper understanding of wind
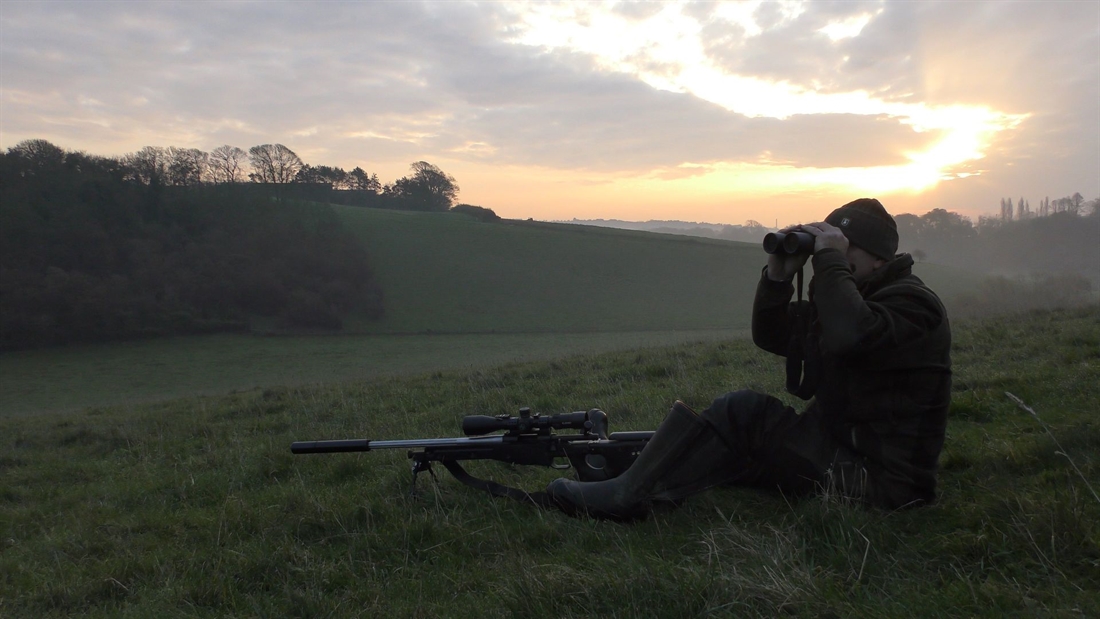
Mark Ripley continues his long-range shooting masterclass with a more in depth look at the effects of wind on the bullet, along with time spent in the air
The saying ‘Time and the wind never leave anything alone’ is certainly true when it comes to sending a bullet from A to B, and the longer that bullet is in the air the more time the wind has to take effect.
Last month we looked at some basics for tackling the wind, so this month I thought it might be useful to delve a little deeper into the subject and cover a few more tips and tricks to help understand the wind’s effects and how to read what it’s doing.
Probably the easiest way to envisage wind is to think of it as if it were water. Imagine a river with a fast-flowing current and you’re trying to swim to the opposite bank. If you try to swim directly across, it’s easy to picture that the current will take you further downstream as you swim. Instead of reaching the bank directly opposite where you started, the water will have taken you further downstream by the time you reach the other side.
To reach the bank directly opposite you would need to start swimming slightly upstream so that as you crossed, and the water carried you slightly downstream, you would end up where you intended to be.
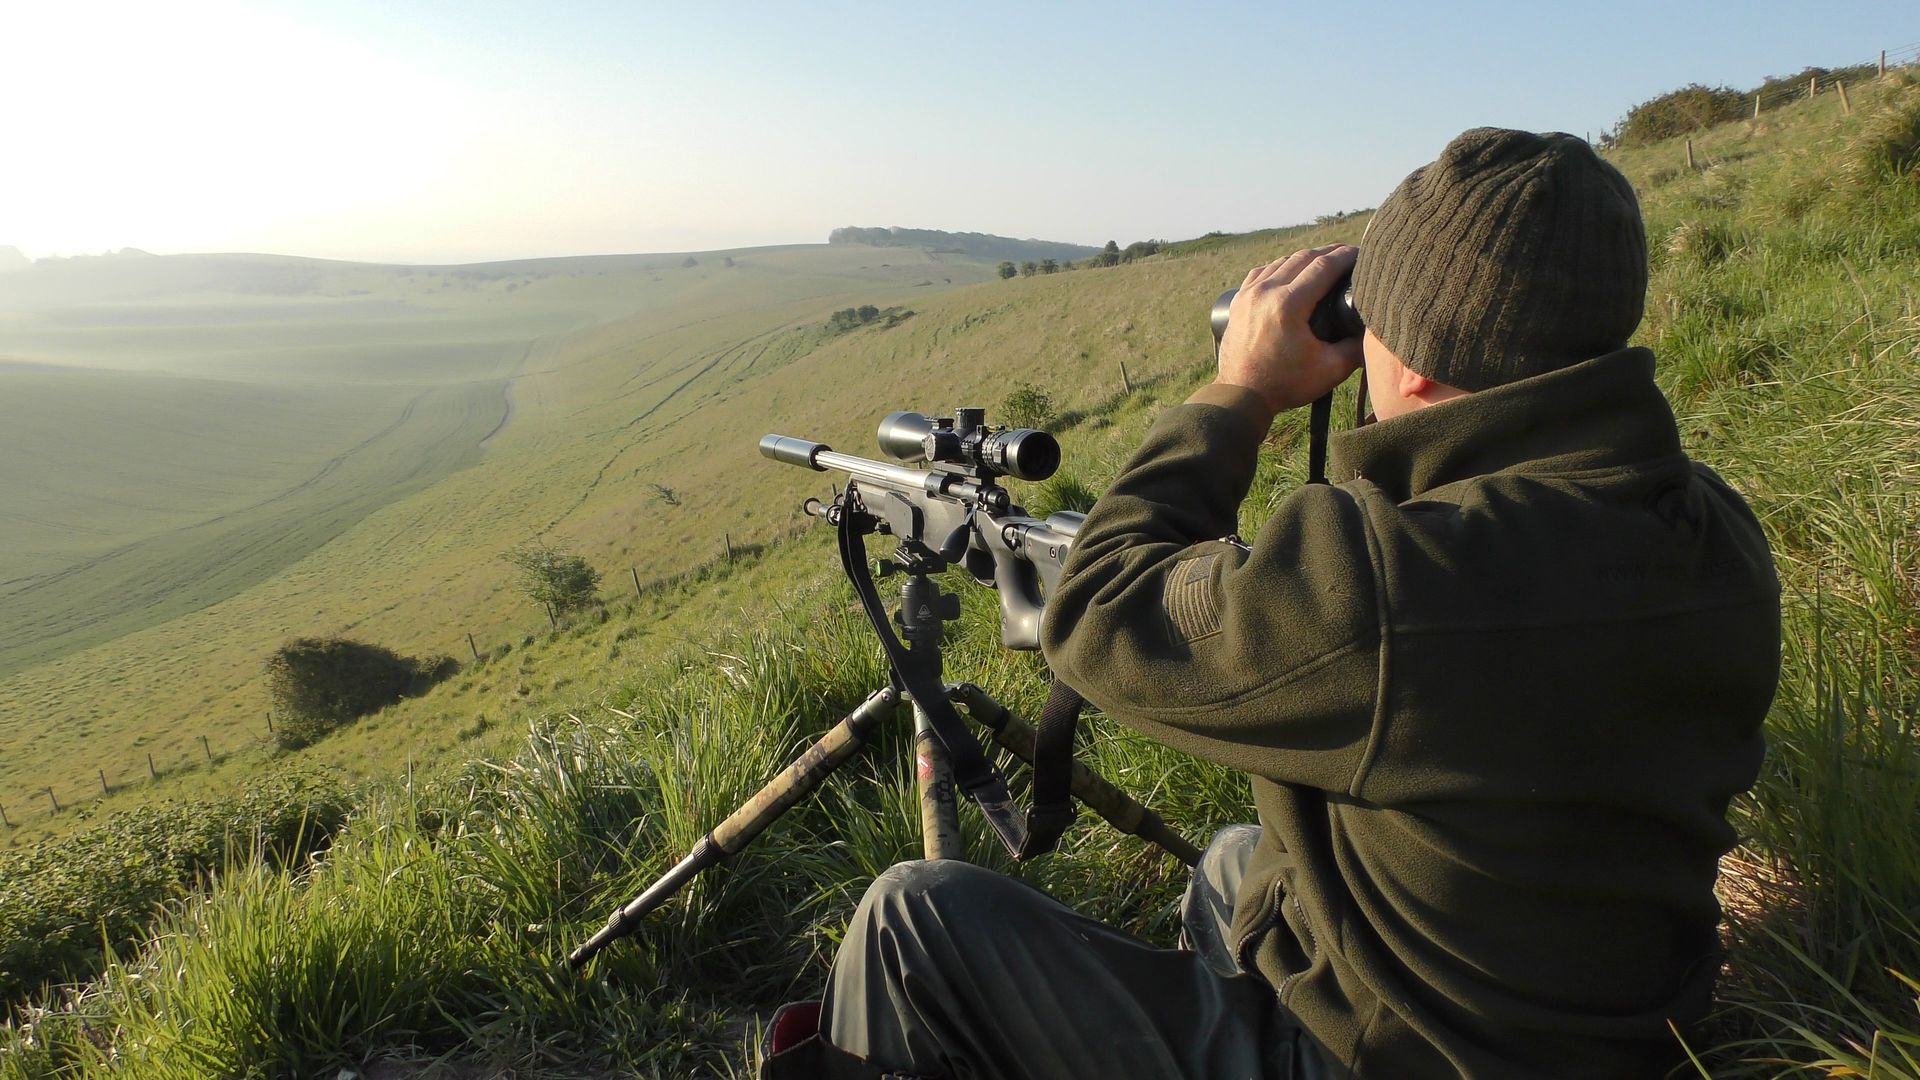
The same is true for shooting across open ground. The wind may be pushing constantly from your left or right and will carry your bullet with it, so to put your bullet where you want it you need to aim ‘upstream’ into the wind.
So that’s easy enough, and if you know the distance to your target and the wind speed it’s straightforward enough to establish how much you would need to ‘aim off’ by.
The problem is that wind is rarely at a constant speed and if the ground you’re shooting over isn’t flat and open, then it’s also likely to be channelled around hills, valleys, buildings, trees or anything it can’t blow out the way!
Guesstimating variable wind speeds
So first, the easiest technique for dealing with a variable wind is to establish what it’s varying to and from, then pick a point in the changing wind to take your shot. Probably the safest thing is take it when the wind is at its lowest, timing your shot for the moment you feel the wind drop, judging what you believe the wind speed to be at that time.
Another technique is to see if you can find a ‘constant’ – in other words you may find that the wind generally feels around 10mph yet every now and then it gusts to perhaps 15mph or drops to 5mph. As the speed is generally 10mph (or your ‘constant’) then you can account for this speed and shoot when it’s in its constant state.
Wind blowing around obstacles will need to be carefully considered, with the image of a torrent of water flowing around these obstacles. With the wind’s direction established, imagine how the water would flow around these features and how that might effect its direction or create sheltered spots along your bullet’s flight path.
Reading the topography
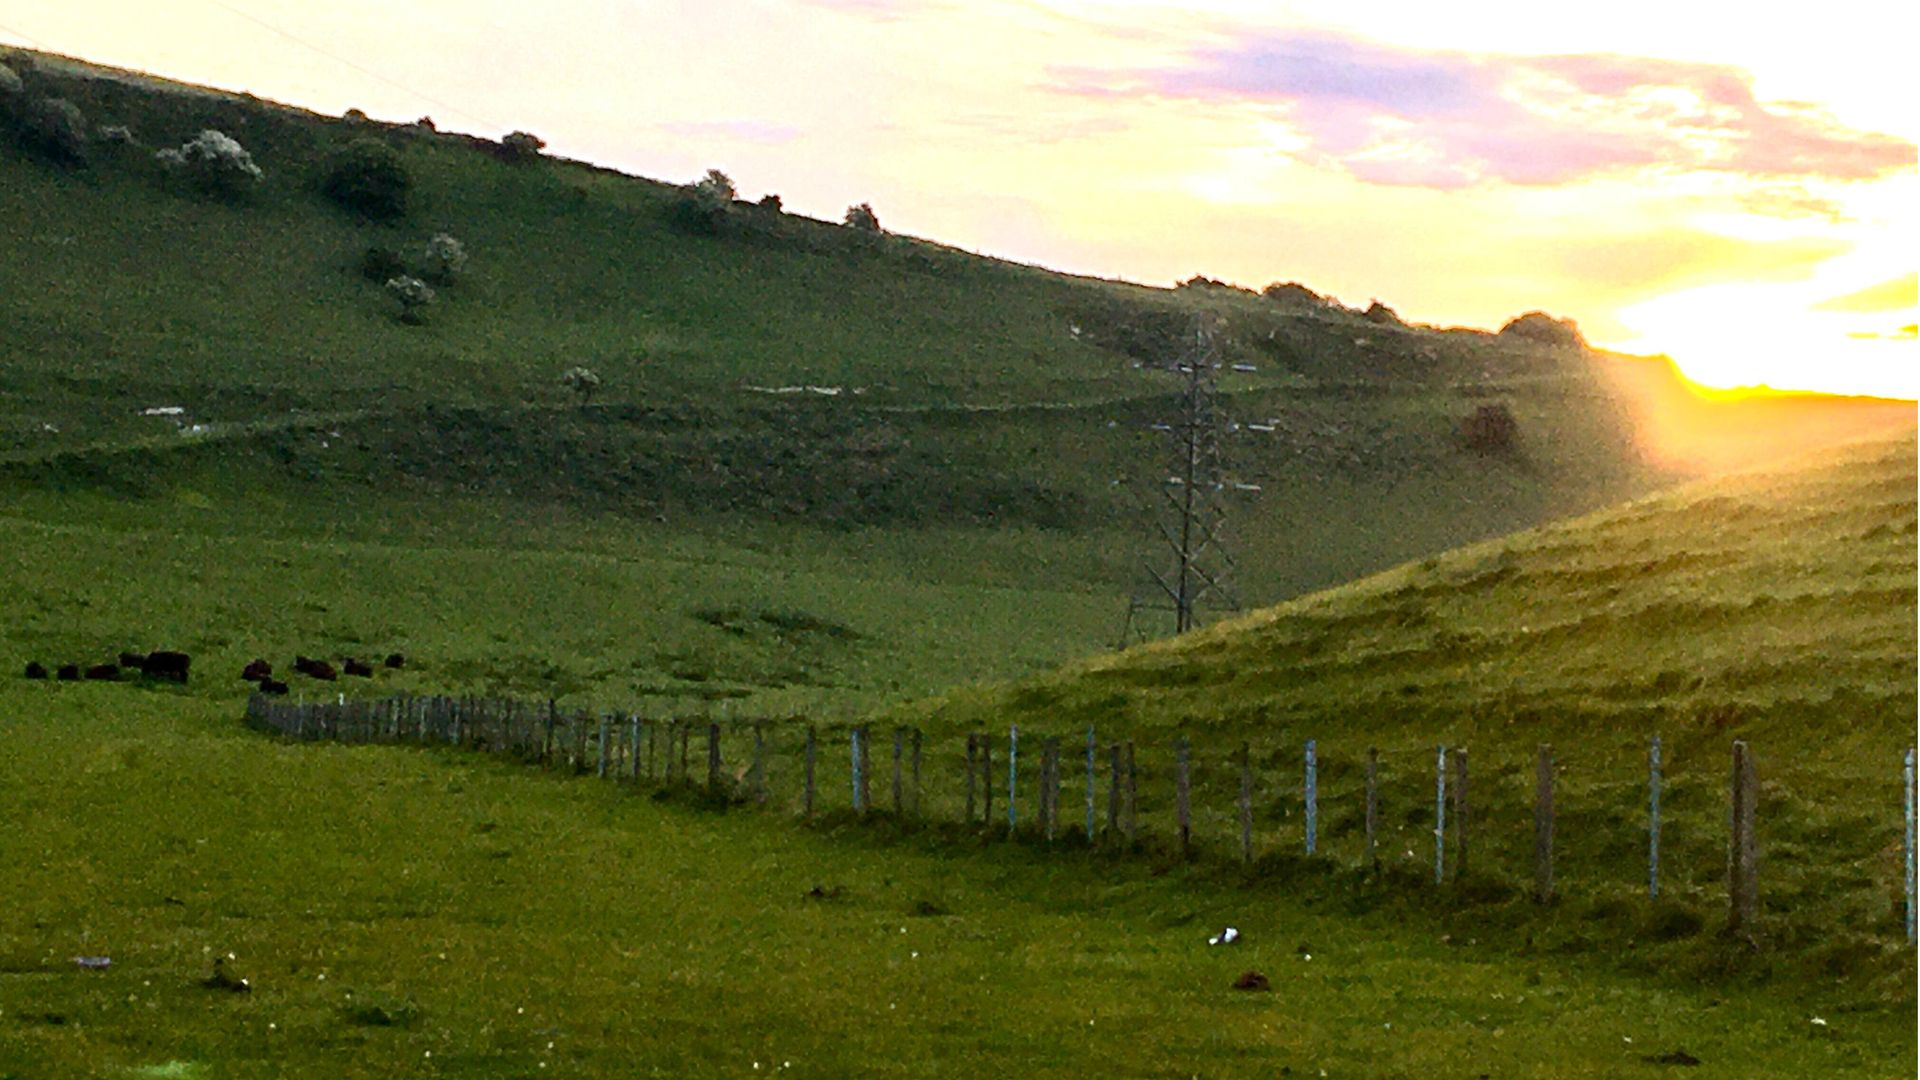
For instance, imagine you’re shooting across an open valley with the wind coming from the left. There’s a wood on a bank to the left that stretches half the distance to the target.
If you’re sat on the side of a slight curve in the valley, you may be sheltered for the first 100 yards. You may well be getting a reading of 5mph on your wind meter at your firing point, but in the bottom of the valley the wind is being blown along the opposite side and channelled by the topography and is likely to be nearer 10mph. Further up the opposite bank it’s sheltered by the wood and could be next to nothing.
If you have considered this correctly you will factor in a wind correction for each section of the bullet’s path and although it may not be exact, your shot will be a lot closer than if you hadn’t taken these things into account.
Judging what the wind is doing down range is probably the most difficult aspect of long-range shooting, but if nothing else, reading what the wind is doing at the firing point is highly important.
If the wind deviates the bullet at the start of its flight it will have a more pronounced effect down range as it continues to travel increasingly off course.
If a bullet is pushed an inch off course within the first 100 yards, then by the time it reaches 500 yards it will be at least 5 inches off, whereas if it flies true right up to the last 100 yards to the target this deviation will be minimal.
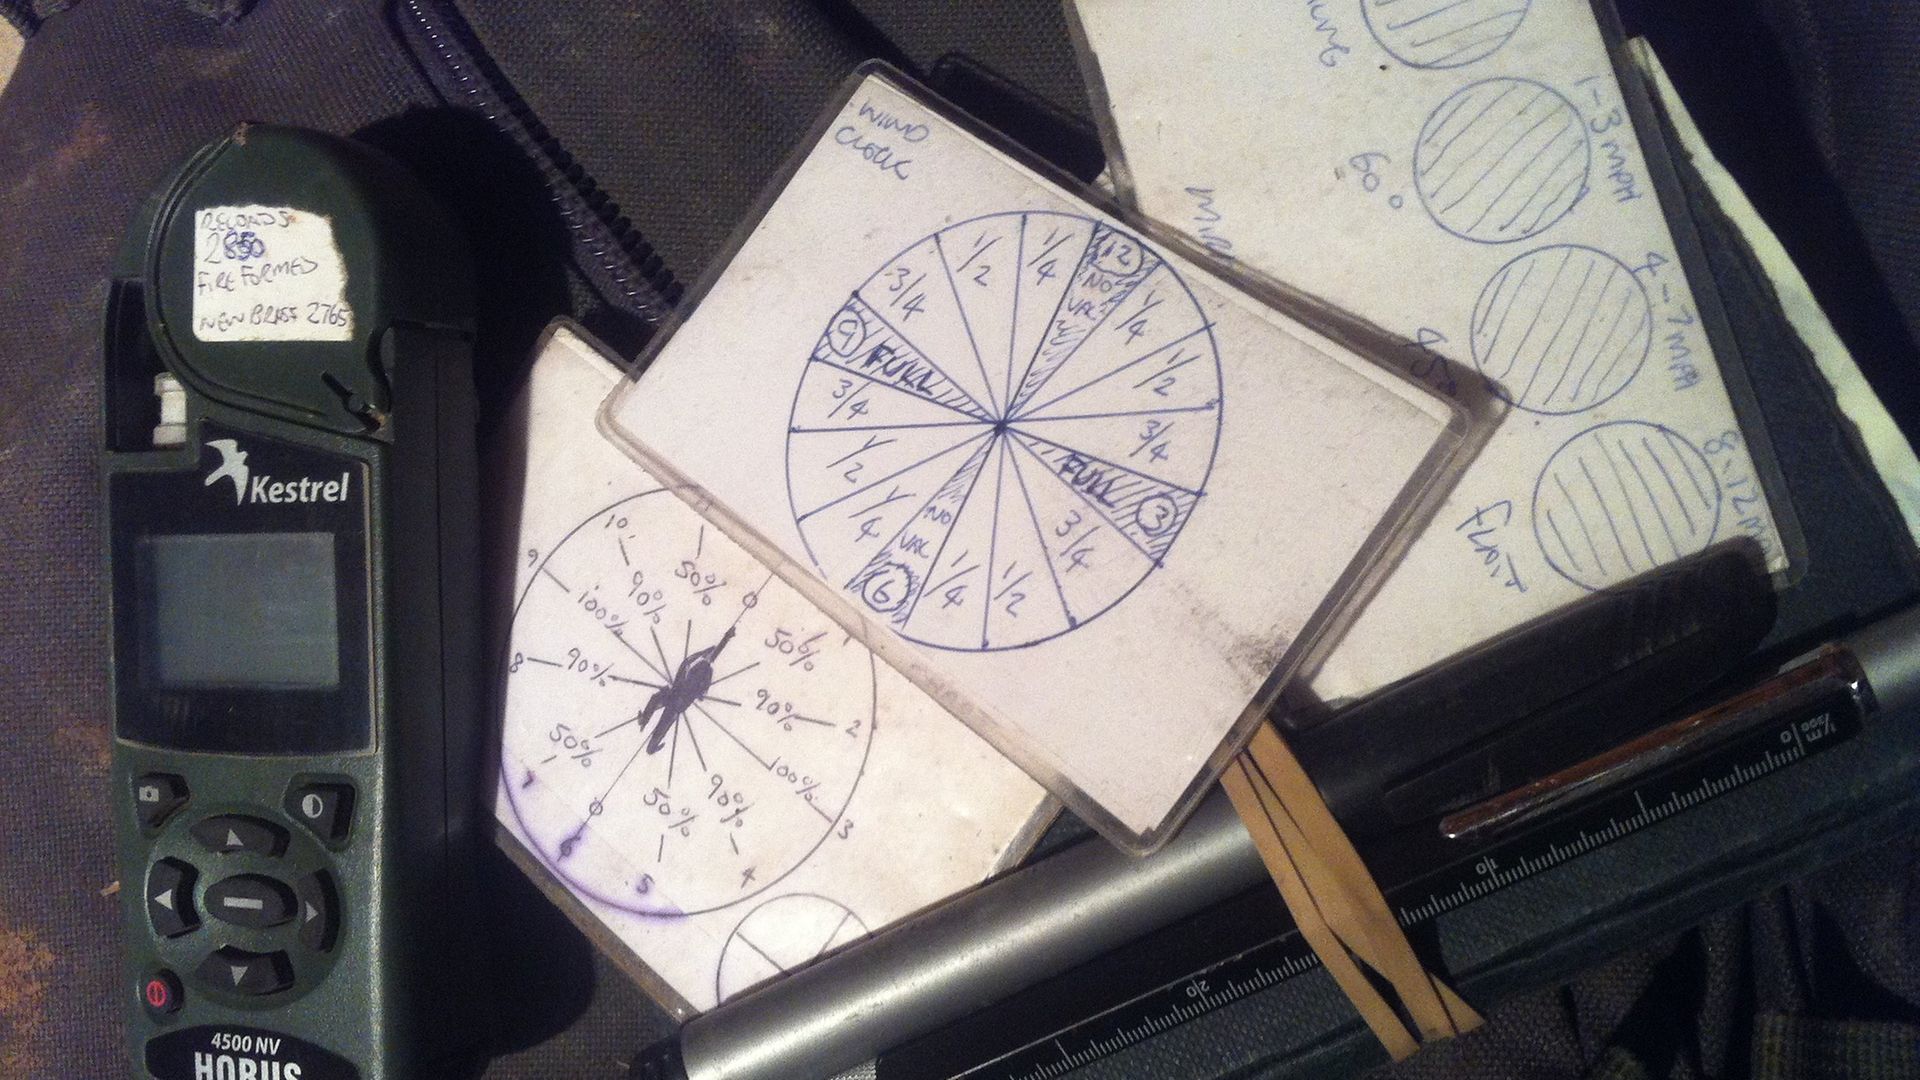
A wind meter (or anemometer if you want to be technical) is an excellent tool in the shooter’s arsenal and can be bought very cheaply. Alternatively you can spend several hundred pounds on an advanced Kestrel ballistic model, which will give a predicted correction for both wind and bullet drop, factoring in all environmental conditions. I use one such unit myself, the Horus 4500 NV. Although an older model, it’s still an excellent piece of kit.
A good learning tip for wind reading is to take a wind meter out with you whenever you’re shooting or even just walking the dog and look at what the wind is doing to everything around you – the movement of the leaves in the trees or the sway of the grass, smoke drifting, ripples on a pond, etc. Look for these signs and then try to estimate the wind strength. Then check your wind meter to see how close you are. This is a great learning method to help you recognise signs of wind down range as well as getting a good idea of its strength and direction.
Old school wind measurement
If you don’t have a wind meter with you it’s possible to get an indication of its speed in other ways. One is to hold a handkerchief or screwed up piece of paper at shoulder height and drop it. Point to where it lands and then estimate the angle of your arm in relation to your body – let’s say it’s 45°. Dividing the angle by 4 will give you an approximate mph speed, so in this case it would be around 11mph.
Some years ago a rule of thumb guide based on some simple principles to gauge wind based on visual indicators was devised. It goes along these lines:
- 3-5mph wind – can be felt lightly on the face
- 5-8mph wind – causes leaves in trees to continually move
- 8-12mph wind – will cause dust and debris to be blown around
- 12-15mph wind – causes bushes and small trees to sway
Reading mirage to estimate wind speeds
By far the most accurate down range wind indicator is also the hardest to read correctly – the mirage. To read the mirage you will need either a spotting scope or a high-magnification scope – I sometimes can see the mirage very clearly using my video camera as it has a very high-magnification zoom lens.
To read the wind by mirage means you need to focus your scope so that you can see the heat simmer off the ground. To see this mirage you will need to adjust the focus so that the target begins to blur and you are in fact focusing somewhere around half way to the target.
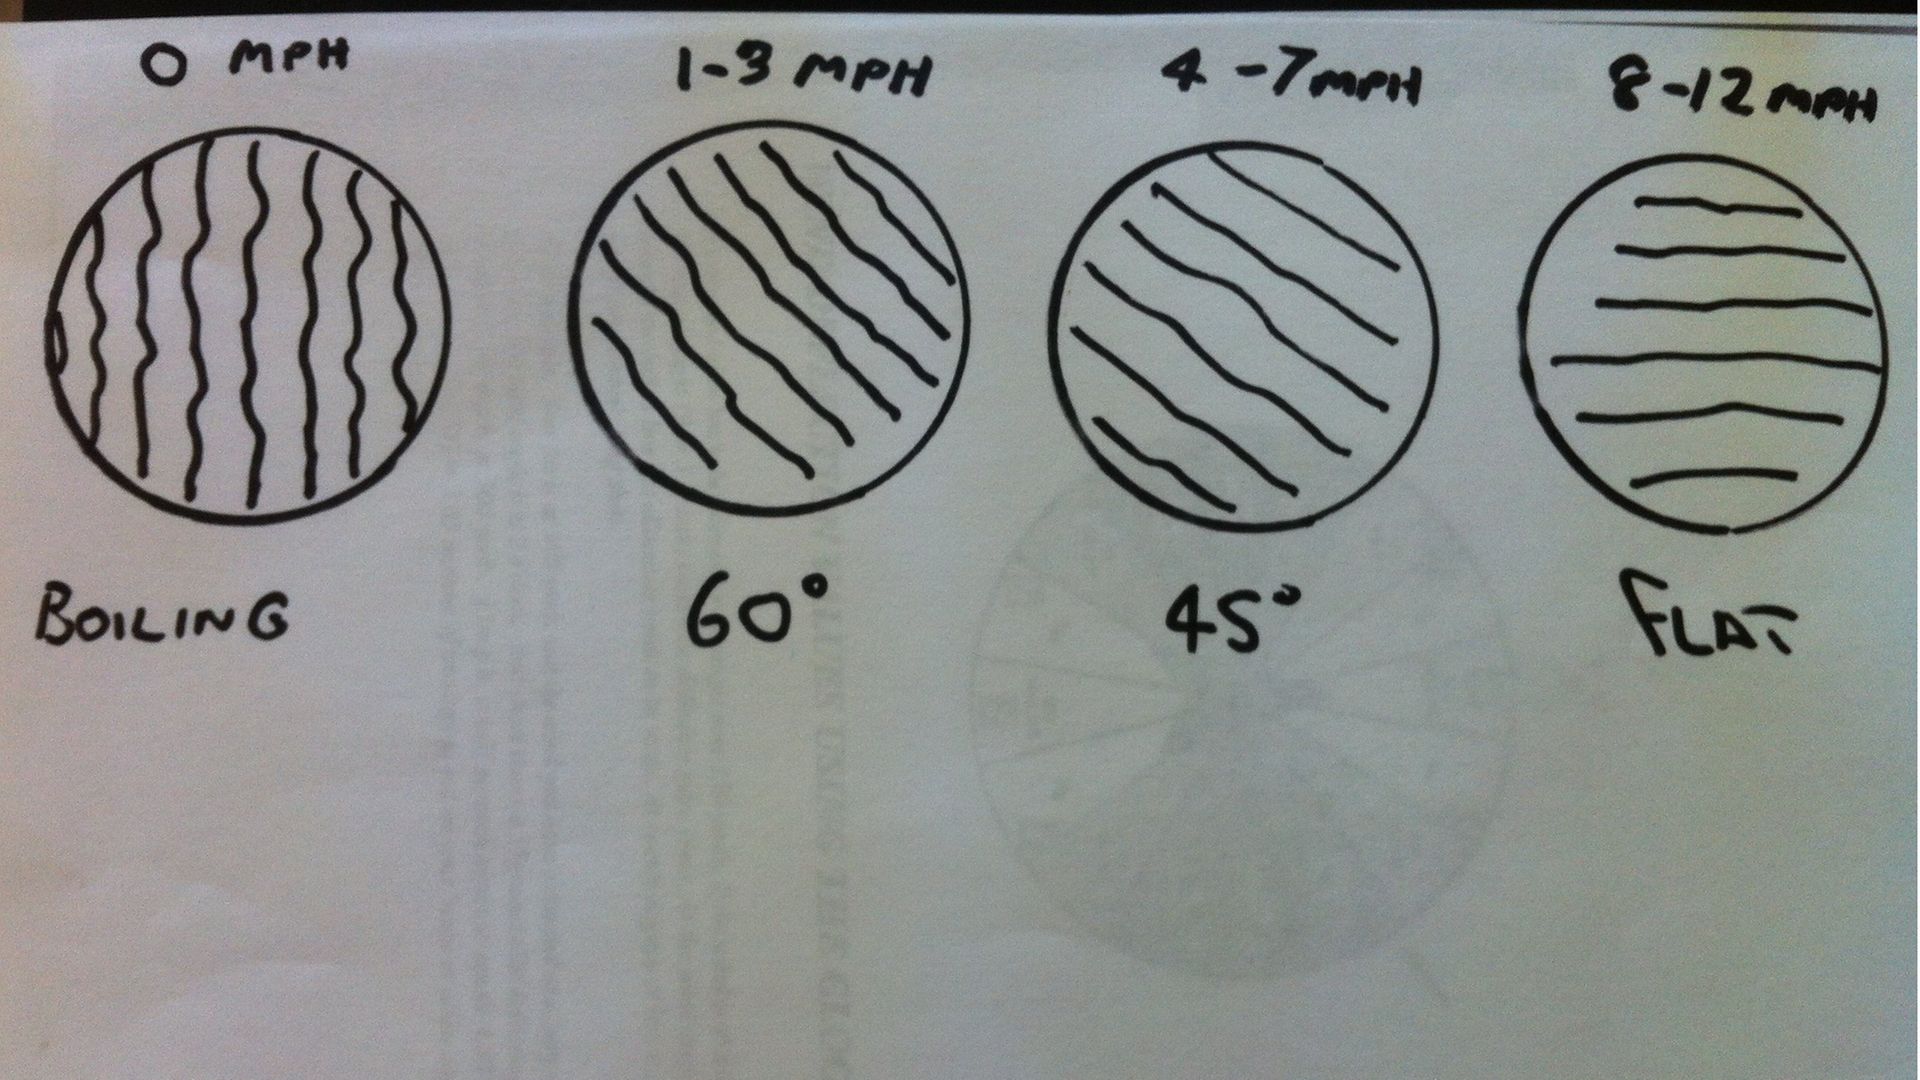
You need to think of mirage as if it were smoke rising from the ground and the wind is blowing that smoke away from its natural upward path. If there is no wind or it’s blowing directly toward or away from you, it will appear to be rising straight up and is therefore called a boiling mirage.
A slight 1-3mph wind from the side will angle these air currents to about 60°; 4-7mph wind will move it to nearer to 45°; 8-12mph will move it horizontally. For all but the most experienced shooters this will be about as much information as we can take from mirage when it comes to reading the wind for speed and direction.
The only real way to learn how to shoot in the wind, is to do exactly that – shoot in the wind! When the wind starts to pick up, that’s the time to get out with a few targets and see what effect it has on your shots. When the wind conditions are extremely strong and blustery it’s not the time for the least experienced and you would likely end up wasting a lot of ammunition and simply getting frustrated.
It’s best to learn what you can from a 5-10mph steady wind until you grow more confident and decide to tackle stronger winds. With all that said, every element plays a part in the shot – wind direction, the topography you’re shooting over, plus the calibre you’re shooting with. It all factors and plays a part in the end results down range.
Related Articles
Get the latest news delivered direct to your door
Subscribe to Rifle Shooter
Elevate your shooting experience with a subscription to Rifle Shooter magazine, the UK’s premier publication for dedicated rifle enthusiasts.
Whether you’re a seasoned shot or new to the sport, Rifle Shooter delivers expert insights, in-depth gear reviews and invaluable techniques to enhance your skills. Each bi-monthly issue brings you the latest in deer stalking, foxing, long-range shooting, and international hunting adventures, all crafted by leading experts from Britain and around the world.
By subscribing, you’ll not only save on the retail price but also gain exclusive access to £2 million Public Liability Insurance, covering recreational and professional use of shotguns, rifles, and airguns.
Don’t miss out on the opportunity to join a community of passionate shooters and stay at the forefront of rifle technology and technique.

