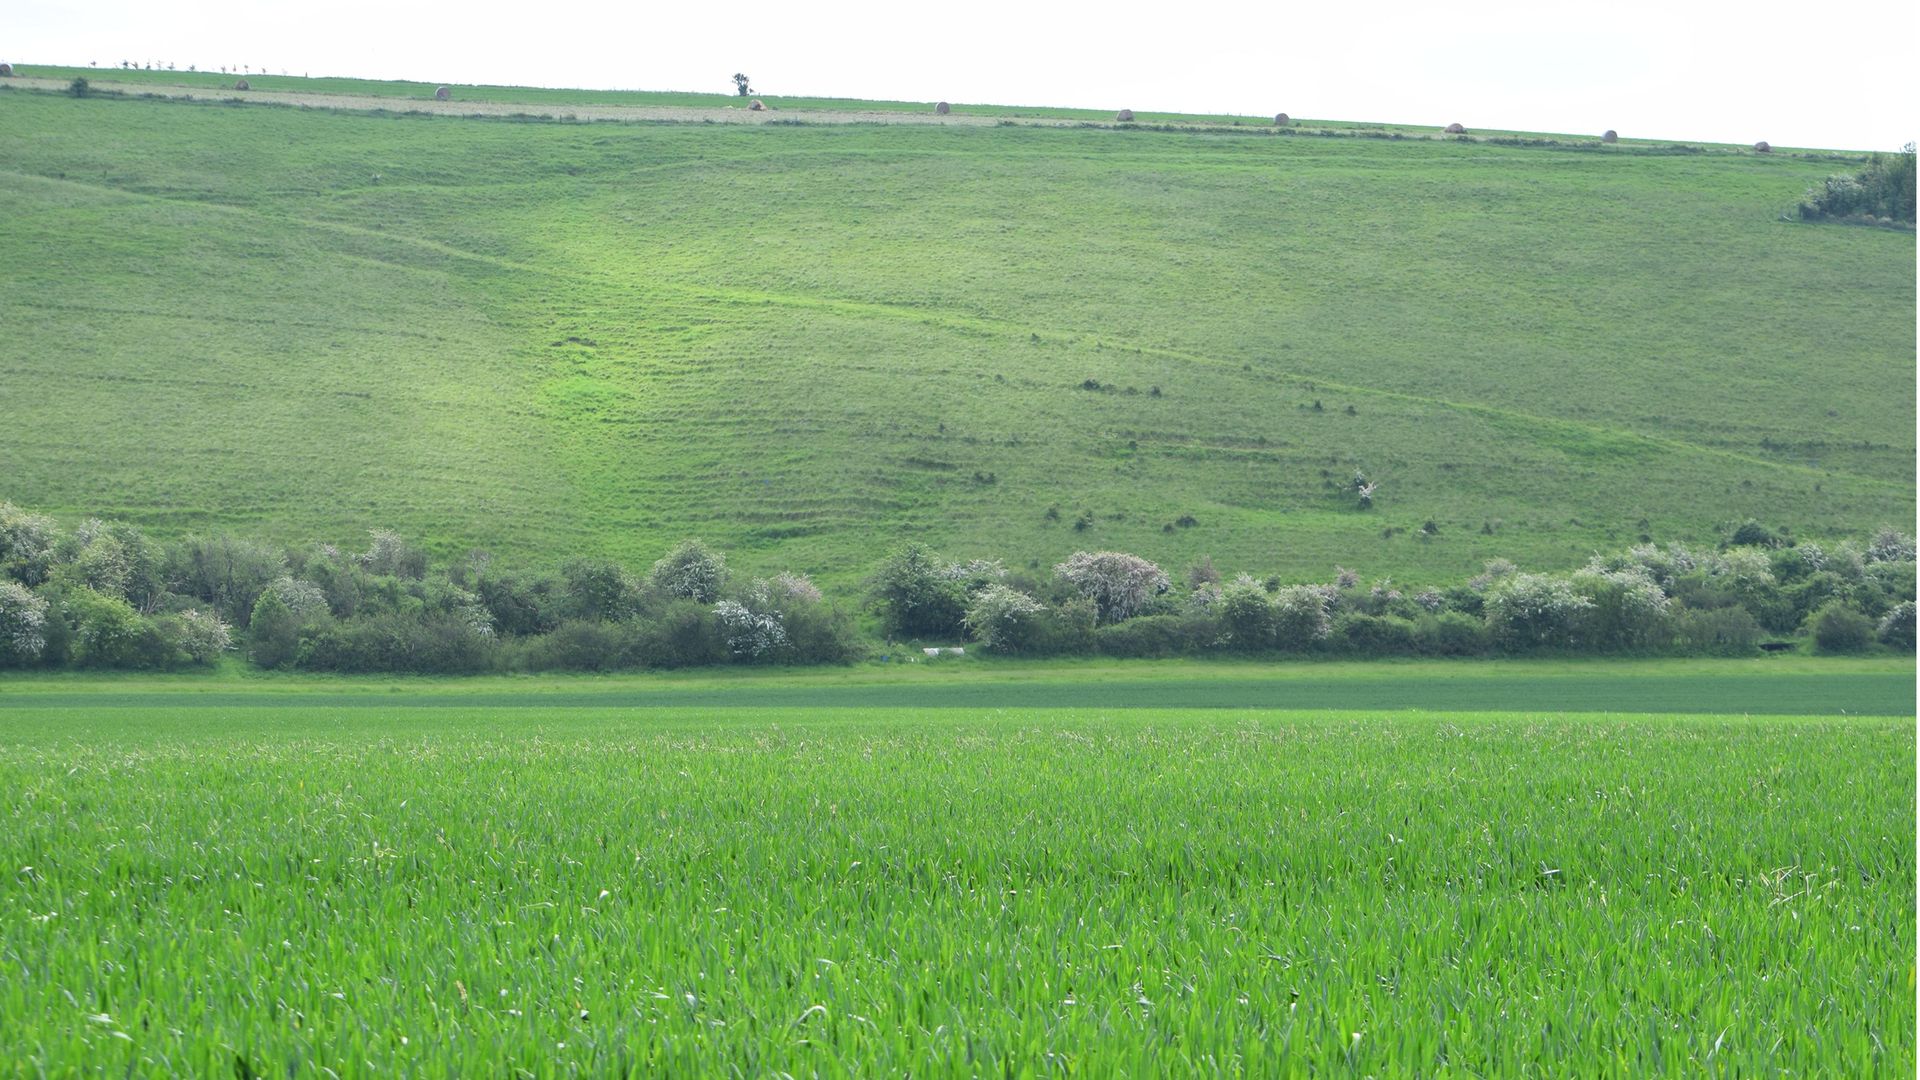
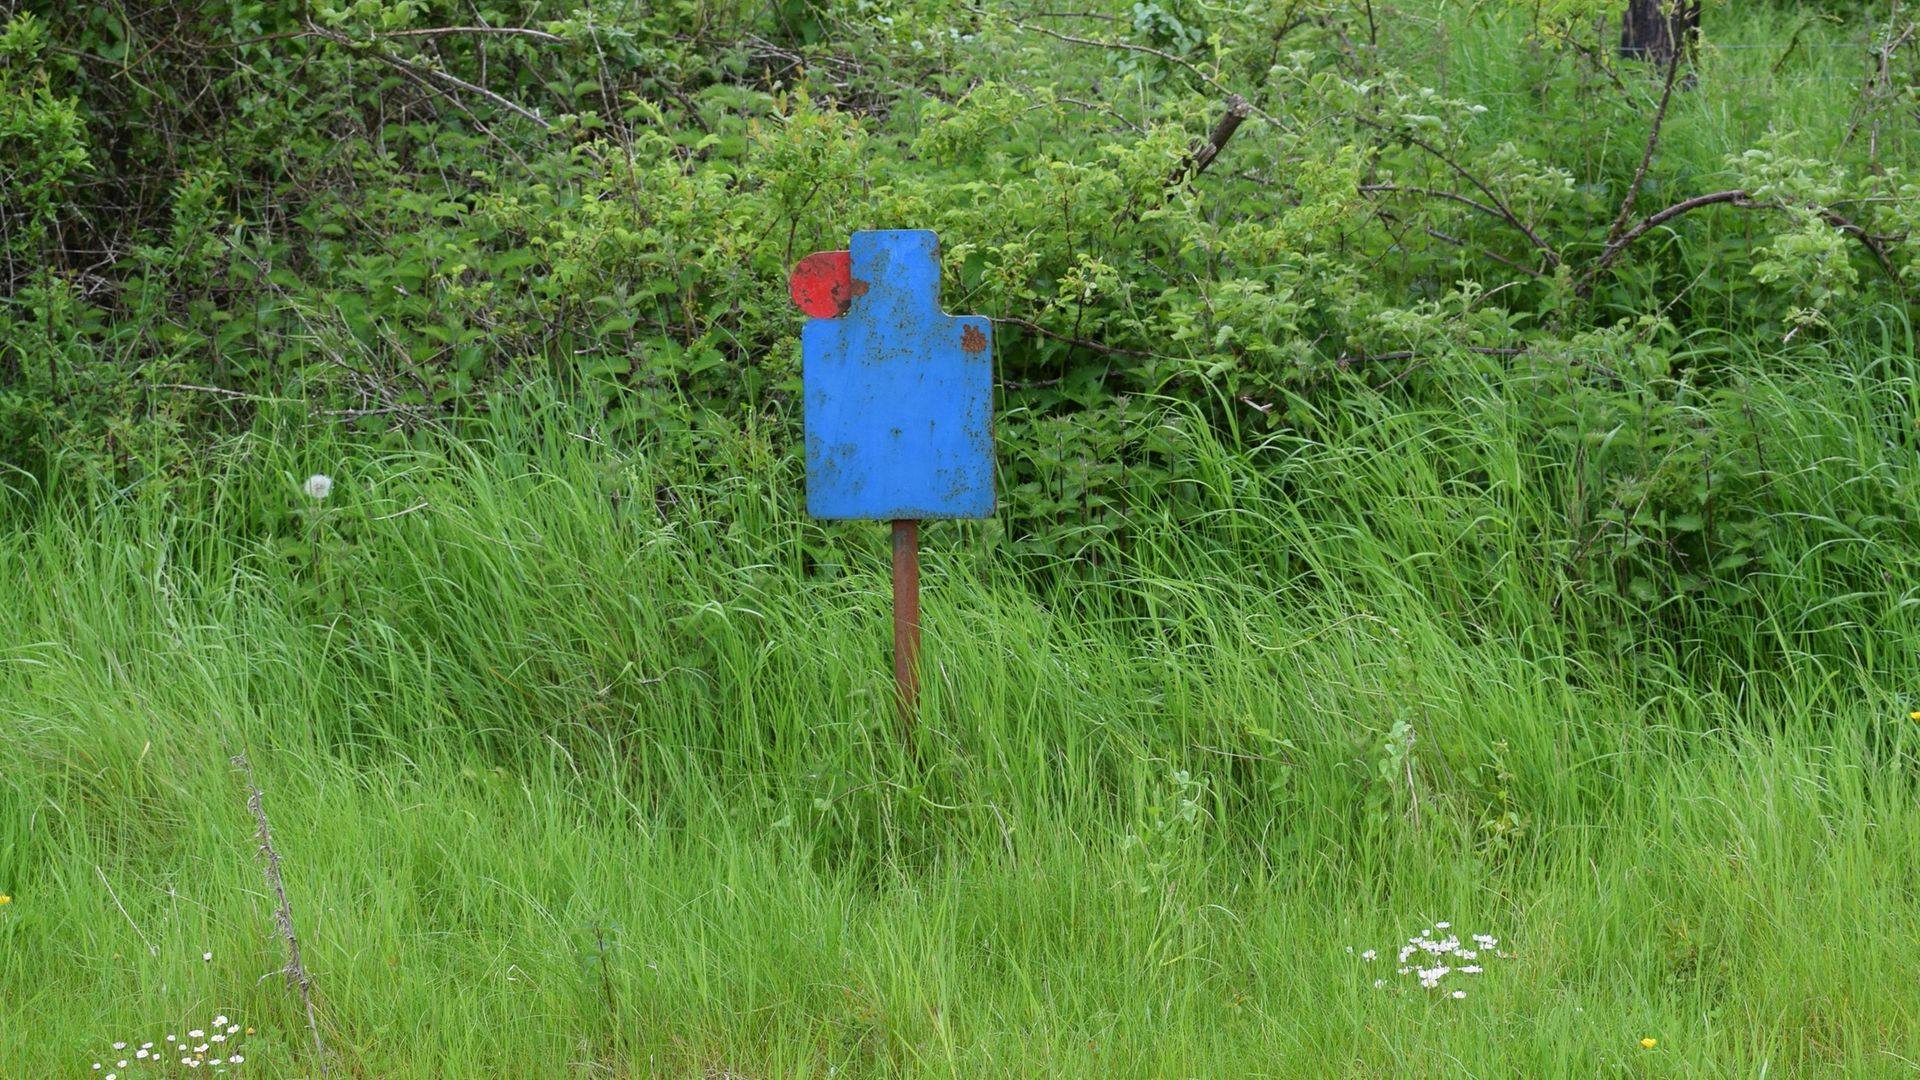
Steve Rawsthorne explains how to use MILs to establish the range of unknown-distance targets (UKD) when shooting long range rifle in the PRL
Just milling around is what a lot of us have been doing one way or another over the last year and a quarter. However, the days are now long, the weather better, and the vaccine roll-out continues apace. Now that we can travel again, at least within the UK, the chance of getting out to shoot some targets is real once more.
 credit: Archant
What are unknown-distance (UKD) targets
A popular and testing PRS stage is the unknown-distance (UKD) target, often found in a ‘back to basics’ match on the continent, where no technical aids are permitted, other than your scope and a drop chart for your rifle/ammunition at various ranges. However, they do also appear here in the UK on some stages.
All too often, we rely on the match director to provide us with the distances to a set of targets, or we use a laser rangefinder, and it can come as a shock if neither of these is present. We need to be able to range our targets accurately and quickly.
There is always a dilemma on a timed UKD stage: how much time should you spend ranging the targets, and how much time actually shooting? Often, the desire to get rounds down range is too great, so we rush the ranging element, later coming off a stage frustrated and scoring poorly.
We can use the reticule of our scope to measure the target and calculate the range accurately with practice. To do this, it helps if the reticule is in the first focal plane so that the sub-tensions (hash marks) remain constant at any magnification.
If your reticule is in the second focal plane, the measurements will only be accurate at one magnification, which adds further complexity and requires more of your precious available shooting time to calculate things.
Should I use MOA or MIL?
We have two common scales available: MOA and MILs. For this article, I will focus on MILs. There is nothing at all wrong with MOAs, but it does require more and different maths to calculate range. Again, if you are on a timed stage, you want to range the targets accurately yet quickly to give you more time to actually shoot. If you are going to use a MIL scale, I suggest you have MIL clicks on your scope (one click equals one centimetre at one hundred metres). There are scopes around with MIL-dot reticules and MOA clicks – avoid them.
A ‘MIL’ is a milli-radian. For practical purposes, this is 1m at 1,000m, 10cm at 100m. Normally, the click value of a metric MIL scope will be one tenth of a MIL, so 1cm at 100m, and 10cm at 1,000m.
Your scope needs to have a graduated reticule in the first focal plane, with fine hash marks to allow you to measure the target. Great examples of this are: the Schmidt & Bender P4F, and my personal favourite, the Kahles MSRKi reticule. Both of these have the ability to quickly measure a 1m object at various fixed ranges, away from the central crosshairs, as well as accurately measuring small, fine areas and calculating the distance to odd-sized targets.
 credit: Archant
How to work out distance from mil dots
Say our match director, in the debrief about a stage, tells us that the measuring post is 70cm tall. We measure it through our scope and get 0.5 MILs. The range to the target would be 1,400m. If it were 0.6 MILs, it would be 1,167m. The drop on your bullet over the 237m difference is very noticeable. So, even a small error in the measuring of the target can have serious repercussions. Either way, you would likely miss the target.
The calculation is:
(Target size in cm x 10) ÷ MIL size = range to target
So, 70cm x 10 = 700.
Then, 700 ÷ 0.5 MIL in our scope = 1,400m
If the measuring post is 100cm (1m), it’s 100cm x 10 = 1,000. Then, 1,000 ÷ 1.2 MIL in our scope = 833m
But, if we measure that same post inaccurately by just a tenth of a MIL (to 1.1), we will have a drop for 909m and will miss the target. The difference in drop on a 140gr ELD 6.5 Creedmoor would be over a metre. If you are lucky, you might see the splash over or under the target, and be able to hold for a quick correction – assuming you have the time and rounds to spare.
Tips for assessing target distance in competition
When preparing to shoot a stage before you go into the start position, wind the magnification on your scope down so that you get a wide field of view. Then, as soon as you are in the shooting position, you can find the target in your scope quickly. If you go in with your magnification too high, you will waste time hunting for the target with a very narrow field of view. As soon as you have acquired the target, you can wind the magnification and parallax up to measure it accurately.
Have a pad and pen to hand to note the distance. If the stage has several targets, range each one before you start to do calculations – an accurate ballistic table for your rifle and ammunition combination is vital. Hold off the screaming desire to get shooting. Now, do the calculation, noting down the click value for each target. Now, you can push the bolt home and start shooting!
To be slick, you need to practise ranging targets and doing the calculations. If you can mount your scope, or a similar one, on to a piece of wood so that you can put it up to the shoulder and see through it, you don’t need to be on a range; you can practise anywhere.
But, if you do practise elsewhere, don’t make it look like a gun! Put a couple of objects up of known height–- you could even use a fence post or rubbish bin in a park. If the height is unknown, measure your object, then walk away and MIL it. Do the calculation and see how accurate you are. If you also have a laser rangefinder, MIL it first, then check it with the laser. Practise, practise, practise if you want to ring that steel.